Friday, January 25, 2013

Counterfeit Kit Blog Hop

With the new year come new changes! This month we're reinstating the monthly blog hop for the Counterfeit Kit participants, and I'm jumping in on the fun.  If you're hopping, you came here from Julie at http://jsquaredscrapspot.wordpress.comI've also listed the hop order at the end of this post so you can navigate from where you were, to where you are, to where you should go next.

The challenge for the hop project is to use 3 patterned papers, 3 embellishments and a 3 word title from your kit.  I stuck to the rules and used them to get me through yet another week of catch-up in my Project Life 2012 album.

I stuck to the rules: 3 pieces of 6x6 Pink Paislee Portfolio paper and 3 embellishments (arrow stickers, a clip, and a piece of flair).
And a 3 word title: I don't usually have a title for each week in my book, but this week seemed like it could use one.
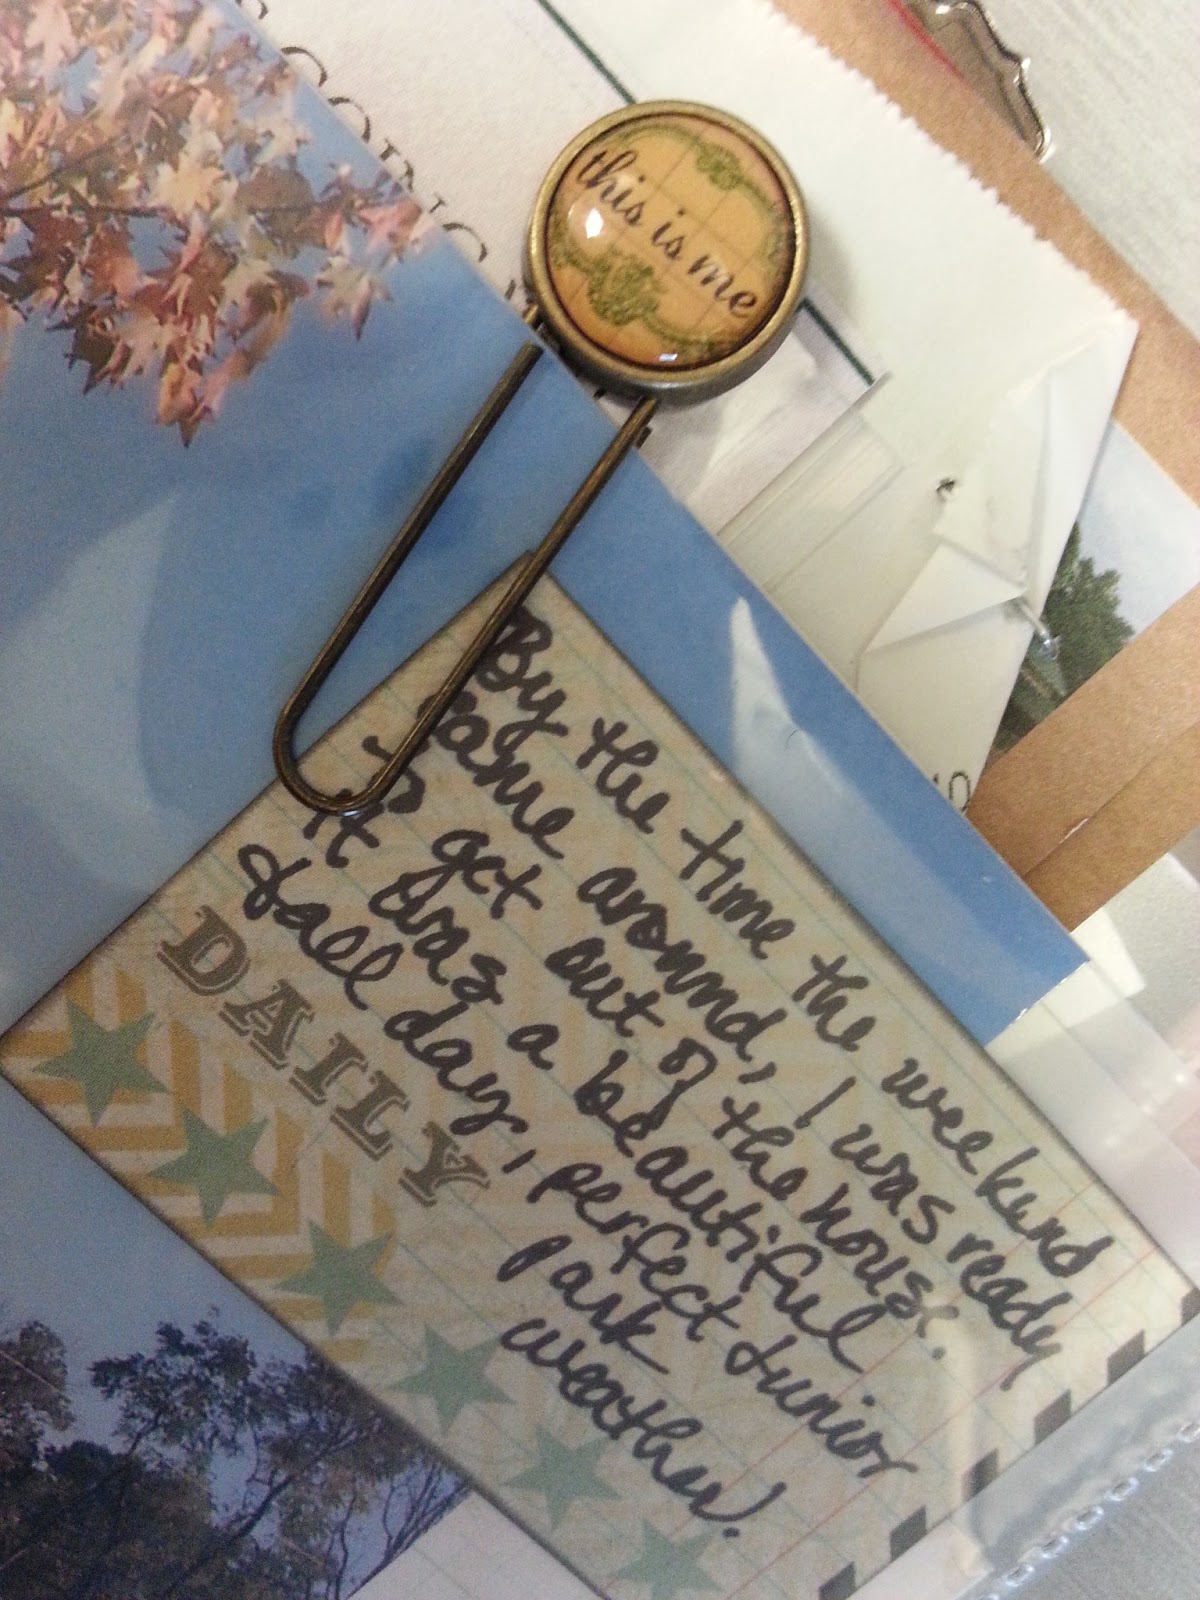
First page with a couple of hospital pictures. For the record, we really celebrated Crystal's birthday the weekend before this week, so she wasn't completely forgotten :). 

My view of the Stadium from my room.

They have quite a system, don't they?  Crystal said they keep you updated in the waiting room and it's pretty easy to know a patient's whereabouts. 

I added a clear pocket to hold some papers from the hospital and clipped just a little paper and the flair button to the front.  The flair is actually hiding the staple I used to hold the paper to the envelope.

I put this picture of Crystal on the back of the pocket page. We just happened to go to an event for the hospital that weekend, and it was one of my first excursions out of the house.  Someone working at the check in booth noticed the cut/scar on my neck and said, "Dr. xyz? I thought so," and then showed me her matching scar. "I recognized his work," she said!  The facing page is just a picture of us at the dog park, but I made it big so I could show that I was feeling better and ended the week on a good note!

There's still time to add your own kit projects to January's Mr. Linky thread.  We'll be back on February 1st to reveal the Master Forgers' February kits and get started on a fresh new month of stash busting and kit making.

Thanks for stopping!  Your next stop in the hop is Tammie at http://www.lifeinterruptedthenscrapped.blogspot.com/.  (EDIT: As of right now, I don't see a post from Tammie, so skip right to Lisa at http://lisahausmann.blogspot.de/ ! I'll come back and edit that point if I see that Tammie has joined us).  

Here is the full hop order, and you can always go back to the Counterfeit Kit Blog if you get lost along the way.

1.      
Jemma Sharrock

2.      
Lesley Graffham

3.      
Lucinda Messman

4.      
Shir Benovich

5.      
Leslie Smith

6.      
Julie Hearn

7.      
Kate Blue

8.      
Tricia Simmons

9.      
Lisa Johnston


10.   
Rebecca Delo
 

11.   


12.

13.
Tammie 


Lisa Hausmann

Andrea Ockey Parr
 
Have a great weekend! (What is a weekend?)


Thursday, January 24, 2013

Photo Apps

I don't have a "tried and true" pin to highlight this week, so I thought I'd instead focus on another hobby that's floating around my head right now.  Since I don't already have enough social media distraction in my life, I'm making an effort to get into Instagram this year.

Junior makes himself at home at the vet's office.

Maybe I'll work on adding the photo feed here on the blog.  but for now, if you're on Instagram, you can see me at RLDELO.

A little sneak for tomorrow's blog hop project :).
I've been playing with lots of photo apps this week and wanted to share a fun find from the Google Play Store.  It also looks like you can use it from a desktop computer, too.  Pixlr-O-Matic is like other photo apps, where you can apply various effects to your photos.  But it was the first one I found that includes lots of Bokeh effects - those little spots of light you may have seen on photos, sometimes in shapes and colors. If you've never noticed it, some examples are here.

I used a glittery Bokeh on this picture. My friend Jeanne pointed out these huge, really beautiful light fixtures at the restaurant where we went to lunch on Saturday.

And then if you want to get the picture into a true square, open it in Instagram and add it to your Instagram feed. 
I played with one of the Bokeh options on this picture of the gelatto case at the coffee shop at work and did the same as above (added the saved picture to Instagram). I doubt the gelatto was a booming business this week.  Brrrr......
I am not a photographer. My fanciest photo equipment is the camera on my Galaxy S3 phone.  I know very little about the mechanics or the artistic design of photography. Those points may be very evident from the pictures I posted above, I wouldn't know.  But they look pretty to me!  I'm loving playing with these apps because it's just so easy to do from the pictures I take on my phone.

And if you don't have a fancy phone, try googling for similar applications that can be used on your desktop.

If you are a fellow app junkie, here are some photo apps I've tried:


Pixlr-o-matic: The one I used above for Bokehs

Instagram: You can follow me at RLDELO!

Polamatic (for iPhone/Pad) or Polaroid Camera (in GP Store): Similar to Instagram, but more specifically creates Polaroid-type pics instead of the square pic.

Hipstamatic (Called Disposable on my iPad; Haven't used it yet, but Retro Camera looks to be the parallel app in the GP Store for my Droid): Similar to other photo apps, except you pick your camera/effects and use that same camera for a whole roll of pictures, like a disposable camera.  The fun is that when you are done with the roll, you can forward the roll of pics to Facebook or an email address, and the pictures save to your device's camera roll (or some other folder on your device, depending on how your settings).

Word Foto (App Store): You can add a word set on top of your photo. I don't have an example right in front of me, but I'll show one here later.  There are some examples online here.  I did a really cute one from a picture in Mexico last year and forgot to include it in my album, so I'll show it here when I find a way to add it to the album.

Skitch (App Store): Has some fun features to allow you to write and draw on a photo.

PhotoGrid (GP Store): This one is useful and fun! You can make a collage from your phone pictures in several different styles and add text on the photo pretty easily, too.  I did a test shot with some Junior pictures, just to show you the idea:


Aviary Photo Editor (Google Play Store): Same idea....but the fun feature is that you can add that fun Meme text that you may see on your favorite funny cat pictures.  Here's an example:

Next week I will post about more apps and fun photo stuff, including my experience with printing phone pictures.  If you have anything you think I shouldn't miss mentioning, please let me know! There are probably 100s of great apps to choose from; a quick Google search for "best photo apps" brought up lists here, here, and here just to highlight a few.  You can really get lost in all the options!

I'll be back tomorrow with this month's Counterfeit Kit blog hop. Please join us - I'll have the hop order here, and you can always find your way from tomorrow's CKC blog post.

Wednesday, January 23, 2013

Thanks, Moxxie! More PL12 Catch-up


 Last October I won a blog hop prize from Moxxie, the full line of All Hallow's Eve. Besides the usual "I never win anything" excitement, I was thrilled that the line was perfect for that time of the year. It has the Halloween theme to it, but also has rich fall colors that were useful for general fall season pictures, too.

I've finally gotten around to using the line as part of my Project Life catch-up.  It was the perfect stuff to help me fill three weeks in October.

The first week:

For this week's dates I used the spider paper with my Wingo Zimgo alpha die. To make it more dimensional, I also cut the alpha from some black foam. I ran the paper letters and the foam letters through my Xyron X, then adhered the paper letters to the foam letters.


These three weeks were a little concerning for me, because I really didn't take many pictures or notes through those weeks. I knew it would be a challenge to get the pages completed, but sticking with the one Moxxie line helped me fill the gaps with embellishments, and I'm very happy with how the pages came out. What better paper to use to chronicle a spooky old house's demolition?!


The second week:


That bottom picture shows the old house from last week finally reduced to a pile of boards.  I know that might seem like a sad sight to see an old farm torn down, but for our neighborhood it was a good thing. We were so glad to see the demo actually happen.


I finally thought to include a QR code on a page!  I never think to take video, but someone saw my iPad while at the Rally trial and offered to take the video for us. I'm disappointed that I never thought of that option in the past, because this run really stunk and may be the only video we ever get of a trial.  But at least we have something, so I went ahead and included it.  I just copied the code onto the photo while editing the picture in Paint and then printed as usual.
 

And the third week:


I know "goose bumps" is meant in the Halloween frightening way, but I used it for the "crap, it's snowing" meaning :).


Crystal started a tai chi weapons class this week. That sword is scary and completely fit the theme of Halloween this month.  I thought tai chi was supposed to be about relaxation and breathing and calming.....no, it turns out it's about weapons, too!


Again I used the "shocking" cardstock piece for another meaning of the word shocking. Fit the story perfectly!


So, thanks, Moxxie, for the great prize and for helping me with 3 more weeks of catch-up pages!

Friday, January 18, 2013

Completed Summer Vacation Album - Finger Lakes 2012

Happy Weekend!

I have some friends coming to visit this weekend, and I'm really looking forward to some fun.  I haven't seen them since our vacation in August, and we have some things to catch up on.  And if nothing else, since my scrap room is also my guest room, it was good motivation to clean!

I had a goal of completing the album for that summer vacation before this visit, and I'm happy to report that I made it. I've shown some of the pages here in the past few months, but here's the whole album in order, if you're interested.


Album on Flickr


Sigh.....now if only our weather could be as nice this weekend as it was during our summer trip.  Oh well, I think we'll find some fun, anyway.

I had no intention of making an entire album for the week, but that's what it became - the album is nearly stuffed.  I usually have one album for a year, maybe an extra album for a special vacation or project.  I don't do mini albums or projects, so everything goes in the "big book."  To put it in perspective: In 2010 I used 2 albums, one for the year and one for a vacation.  In 2011 I used 2 albums, one for the year and one for a December Daily.  For 2012 I will end up with 6-7 albums:

--Two 12x12s for the year
--One 8 1/2 x 11 for February's Mexico vacation
--One 12x12 for this vacation album from August
--One project life 6x8
--One December Daily 6x8
That's crazy!  And really I should put my Week in the Life project into its own album, but I just stuffed it into one of the 12x12s.  It's definitely out of the ordinary for me, and I don't want to end up with that many albums EVERY year, but apparently it was a big year for scrapping.

Maybe I'll simplify and do everything 12x12 this year (other than my current project life pages) - I don't know, we'll see.

Have a super weekend!

Thursday, January 17, 2013

Thursday's Tried and True Pin: Ornament Reflections

I'm going to revive the idea of trying a Pinterest pin and posting the results each Thursday.

This week's pin was a partial success, and if nothing else, it was worth a laugh.

The goal was to take a reflection picture in an ornament.

The inspiration pin - I found that the picture for this pin didn't link back to the actual photographer's site, so I searched for the photographer on the watermark, Leilani Rogers. I couldn't find that exact picture, but there were other examples on her portfolio site. Definitely more professional than I would be able to create with my cell phone in my living room, but it was worth a shot (no pun intended), right?

The inspiration pin from Leilani Rogers.

So just before I dismantled the tree, I roped Crystal into a photo shoot. Here are just a few of the many pictures to demonstrate my hilarious results:
Warming up, trying to figure out how to see my face and still take the picture.

Worse, not better.....still trying......
Crystal joined me......now I'm frustrated and beginning to giggle.

Giggling leads to blurry picture, although now I've figured out how to hold the phone and see my face.
The best shot in the bunch......two faces, nearly smiling.....I'll take it! Just wish I had realized the background was just as important. Nice picture of the TV, huh?

Good, OK, now bring in the dog. Sorry that's blurry, let's try again......

.....and again and again. Oh, forget it, I'm laughing too hard to keep the phone still.
That got us laughing harder.....

And as I flipped the camera to get our pic in front of the tree, you can see the tears of laughter running down my nose!


So, my tried and true advice: Be patient, practice, and plan to take lots of shots for one useable one. But I'm glad I thought to take the shot before I sacked the tree for the year. I plan to play with this idea again next month while we're on vacation - maybe some beach reflections in sunglasses?

Wednesday, January 16, 2013

Counterfeit Kit Pages

Today I'm finally posting some pages created with my January Counterfeit Kit. And before I get to the pages, I wanted to mention info about the CKC blog this month:
  • Be sure to link something to this month's Mr. Linky! There's an extra incentive - Cassie owns an awesome scrappy store on Etsy called Paper Issues, and she is sponsoring a $20 Paper Issues gift certificate to one random winner from all those who add to the Mr. Linky.The winner will be drawn at the end of the month.  So get your projects linked up for your change to win! 
  • Watch for this month's blog hop on January 25th. It's too late to join the hop, but please join us for some inspiration.
OK, so on to the pages......

I needed to fill the back side of a page protector (cut down from an 8x10 protector). I just used things from my kit (except some scraps and a piece of kraftstock) to fill this awkward space.


I think this next page ended up being one of my favorites of the book. I just love the flower picture. We ate outside on the patio with that beautiful view of the vineyard and lake, just a really nice place to be.  I  like how the colors on the page added to the colors of that picture: 


And I couldn't show three pages today without including the dog, could I? 


Again, mostly items from my kit. The sticker sentiments in my kit didn't have what I needed, so I covered the saying in the middle and used it for the background of my title.


I used Stickles to hide the not-so-great edges of that oval I cut to cover the sticker.  It also worked to hold those tiny little letter stickers in place. These little sticker letters are so cute, but the adhesive is never really very good, is it? I decided to name the phenomenon - Alphabet Drift.  Ever see it?  You spell a word, turn around, and find the letters have drifted - down the page, up your arm, across the desk, etc.  Alphabet Drift. Look it up - I bet it's in the dictionary.


I used a Zig Glue Pen in spots across the page, and then sprinkled sequins over the sticky spots.  Pretty simple way to use loose sequins, as long as you don't mind the work of corralling those little boogers back into the jar.  After my experience, my work with sequins may be short lived.

I don't know if it's my kit, the new year, the cold weather, or the pending visit of friends, but I suddenly feel the draw of my scraproom like I haven't felt in quite awhile. Wish I could bottle the motivation I'm feeling right now.